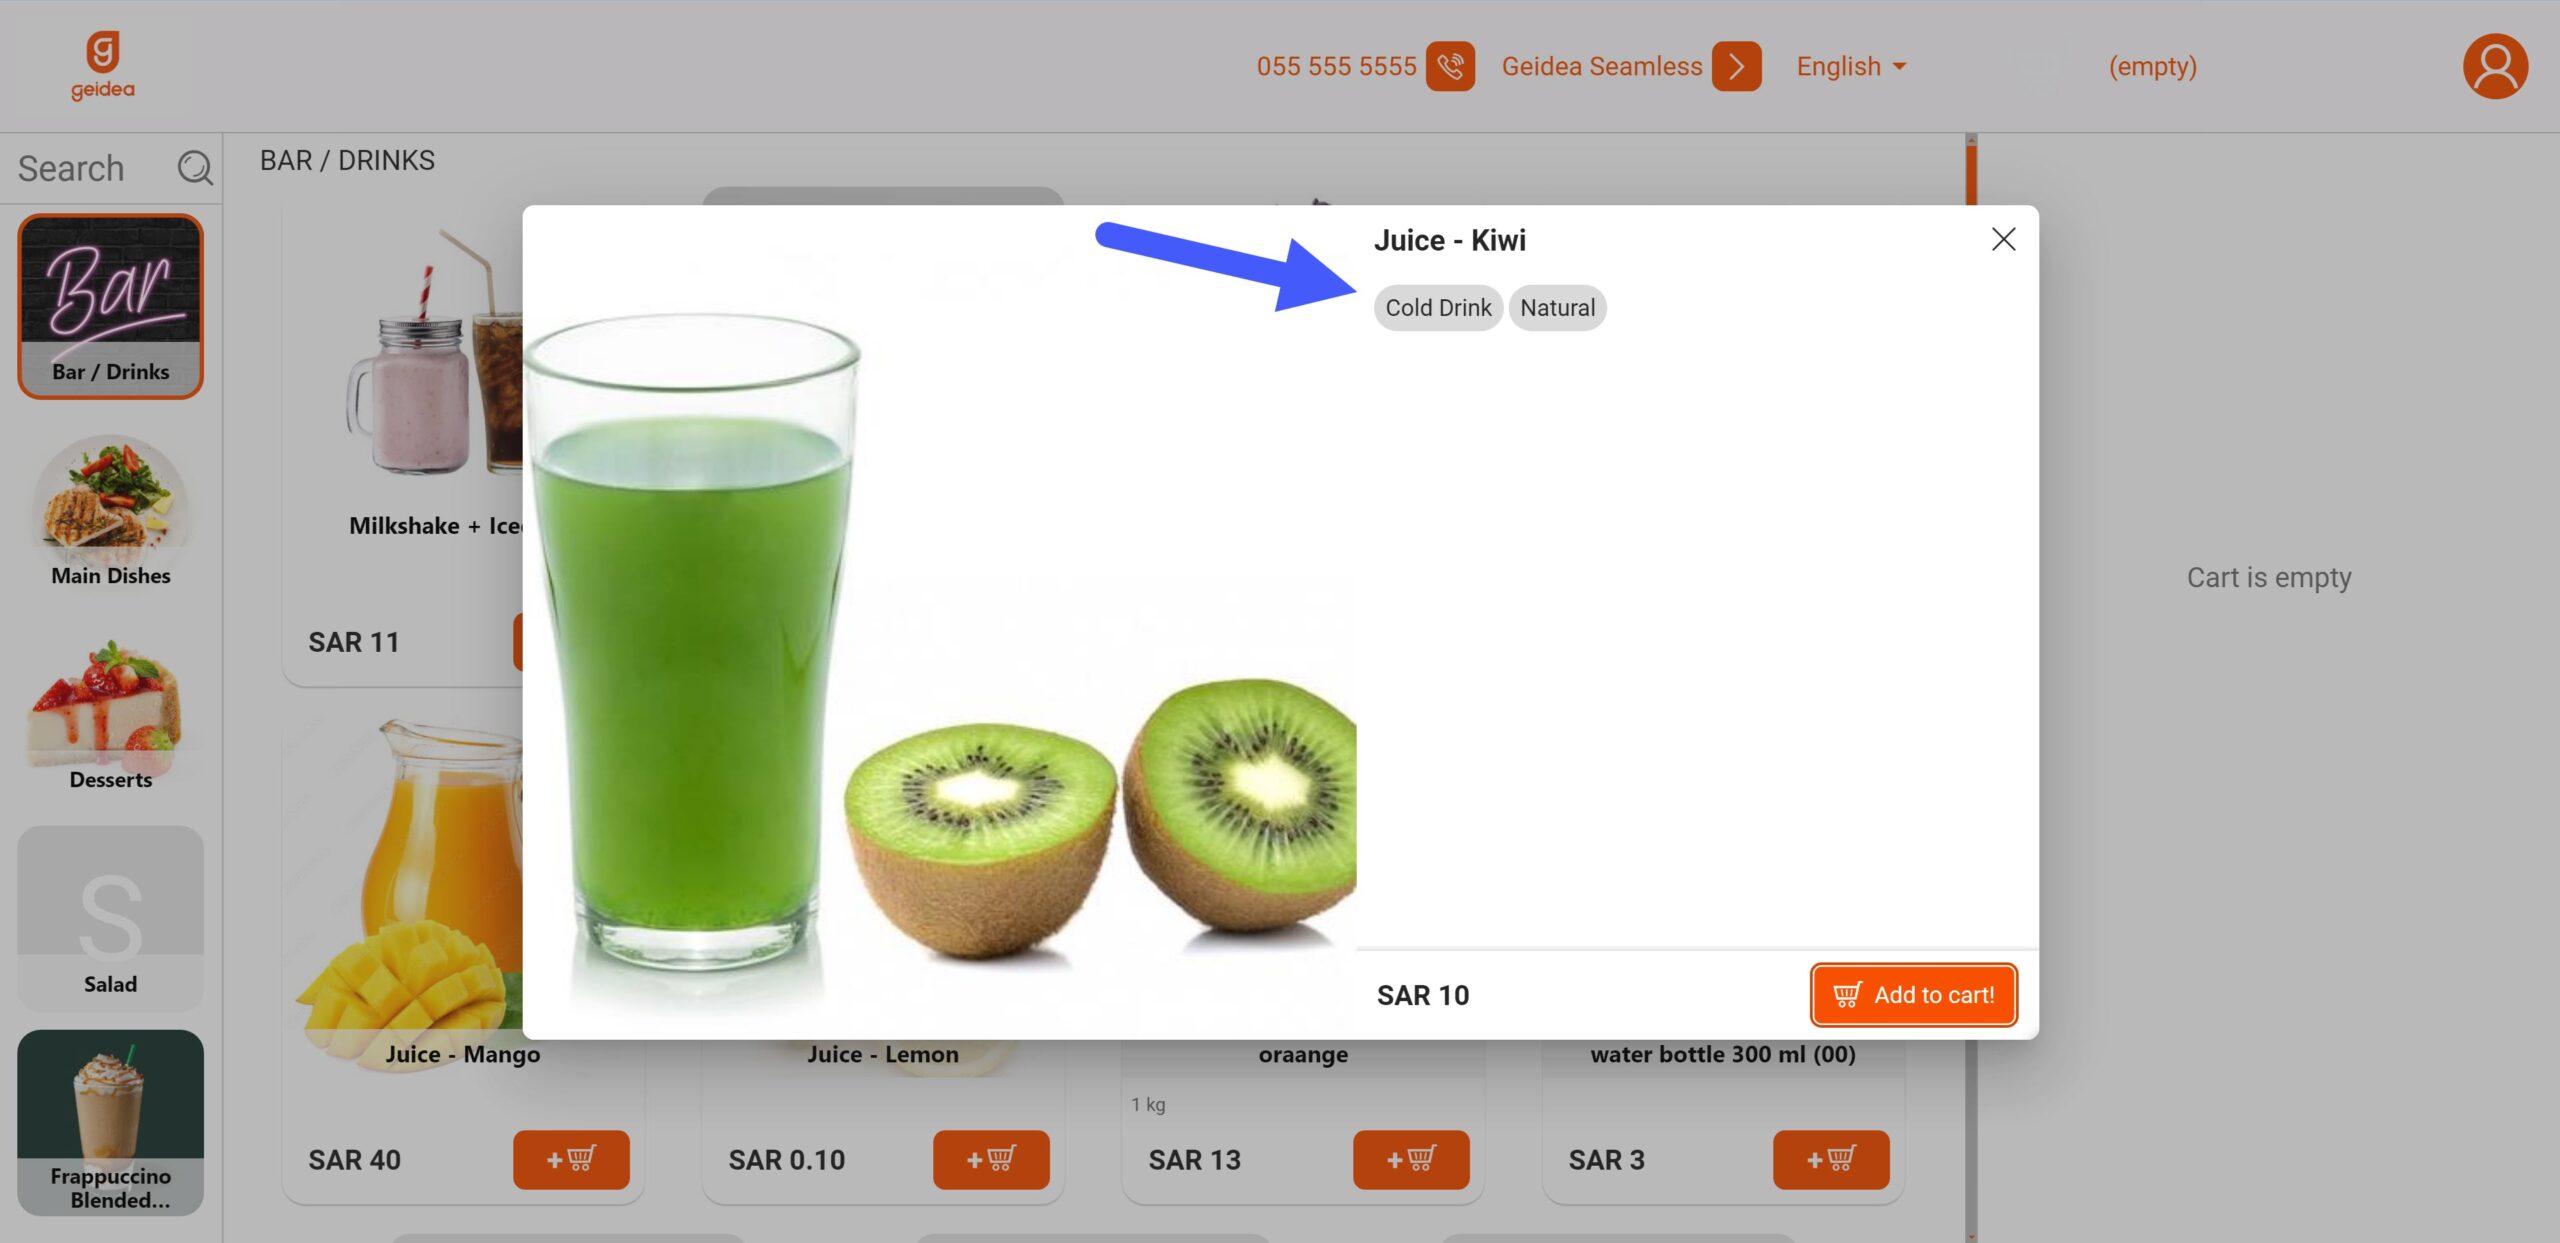
Geidea POS lets you assign tags to Menu Items. Said tags are useful to group items together in reports. Additionally, you can use public tags to give more information about your items. This means that you can have public and hidden tags.
Using Tags
- Open Settings and click Tags.
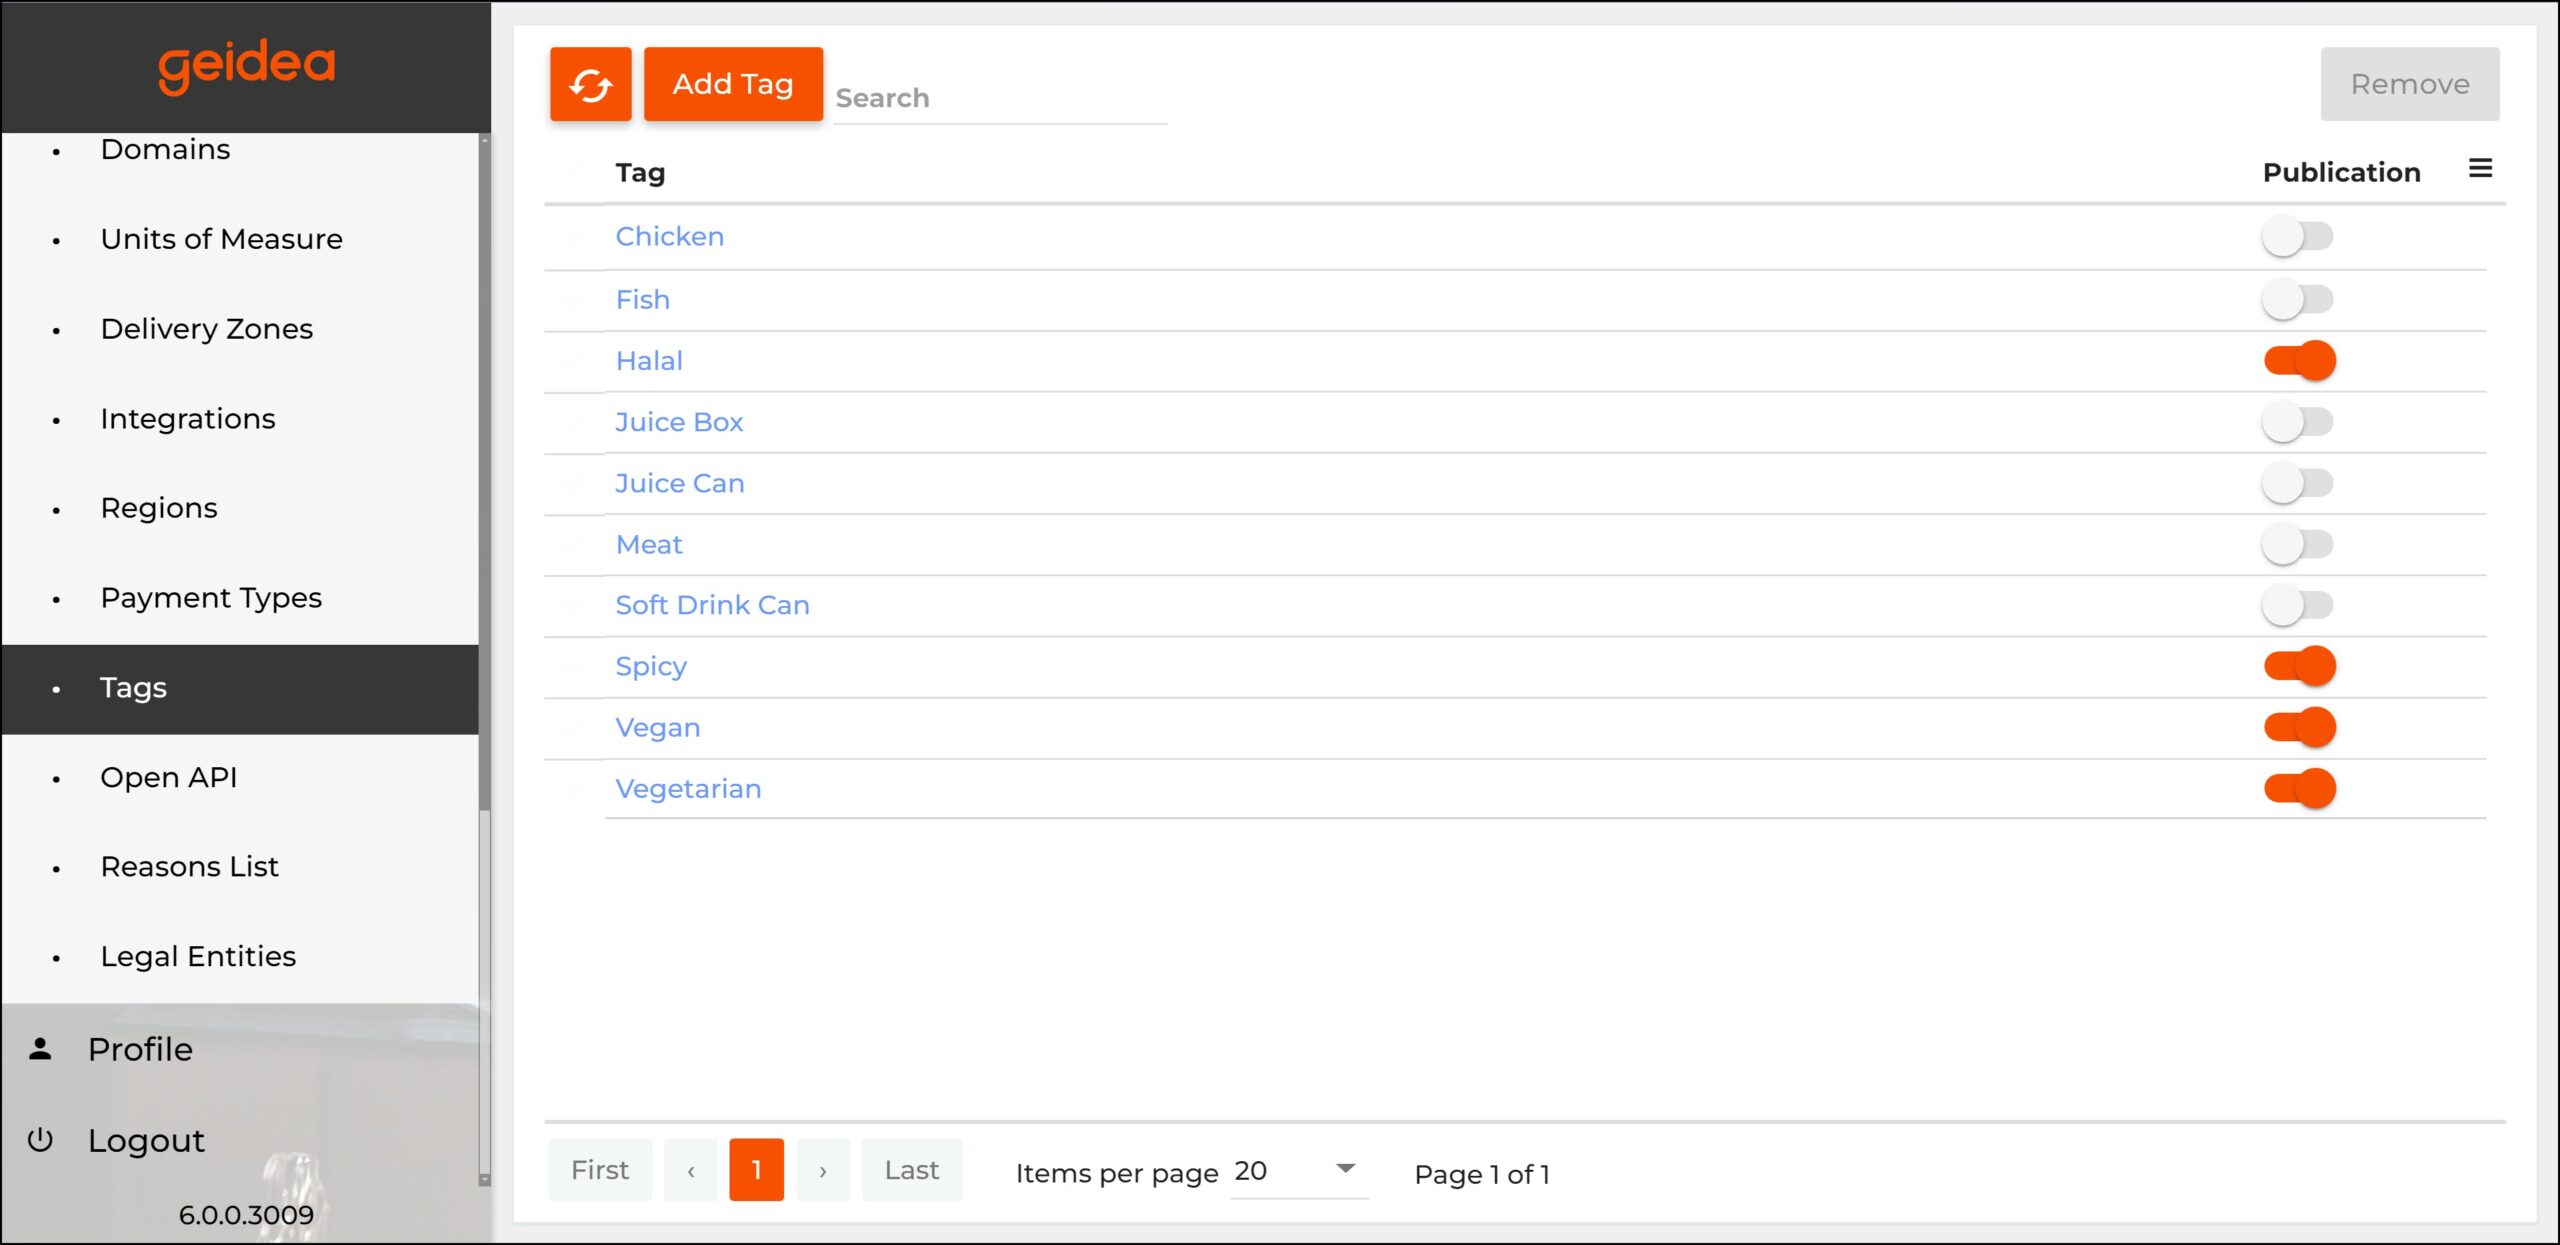
- Here, you can view and manage existing tags. Additionally, you can change their visibility (public or hidden)
- To add a new Tag, click Add Tag.
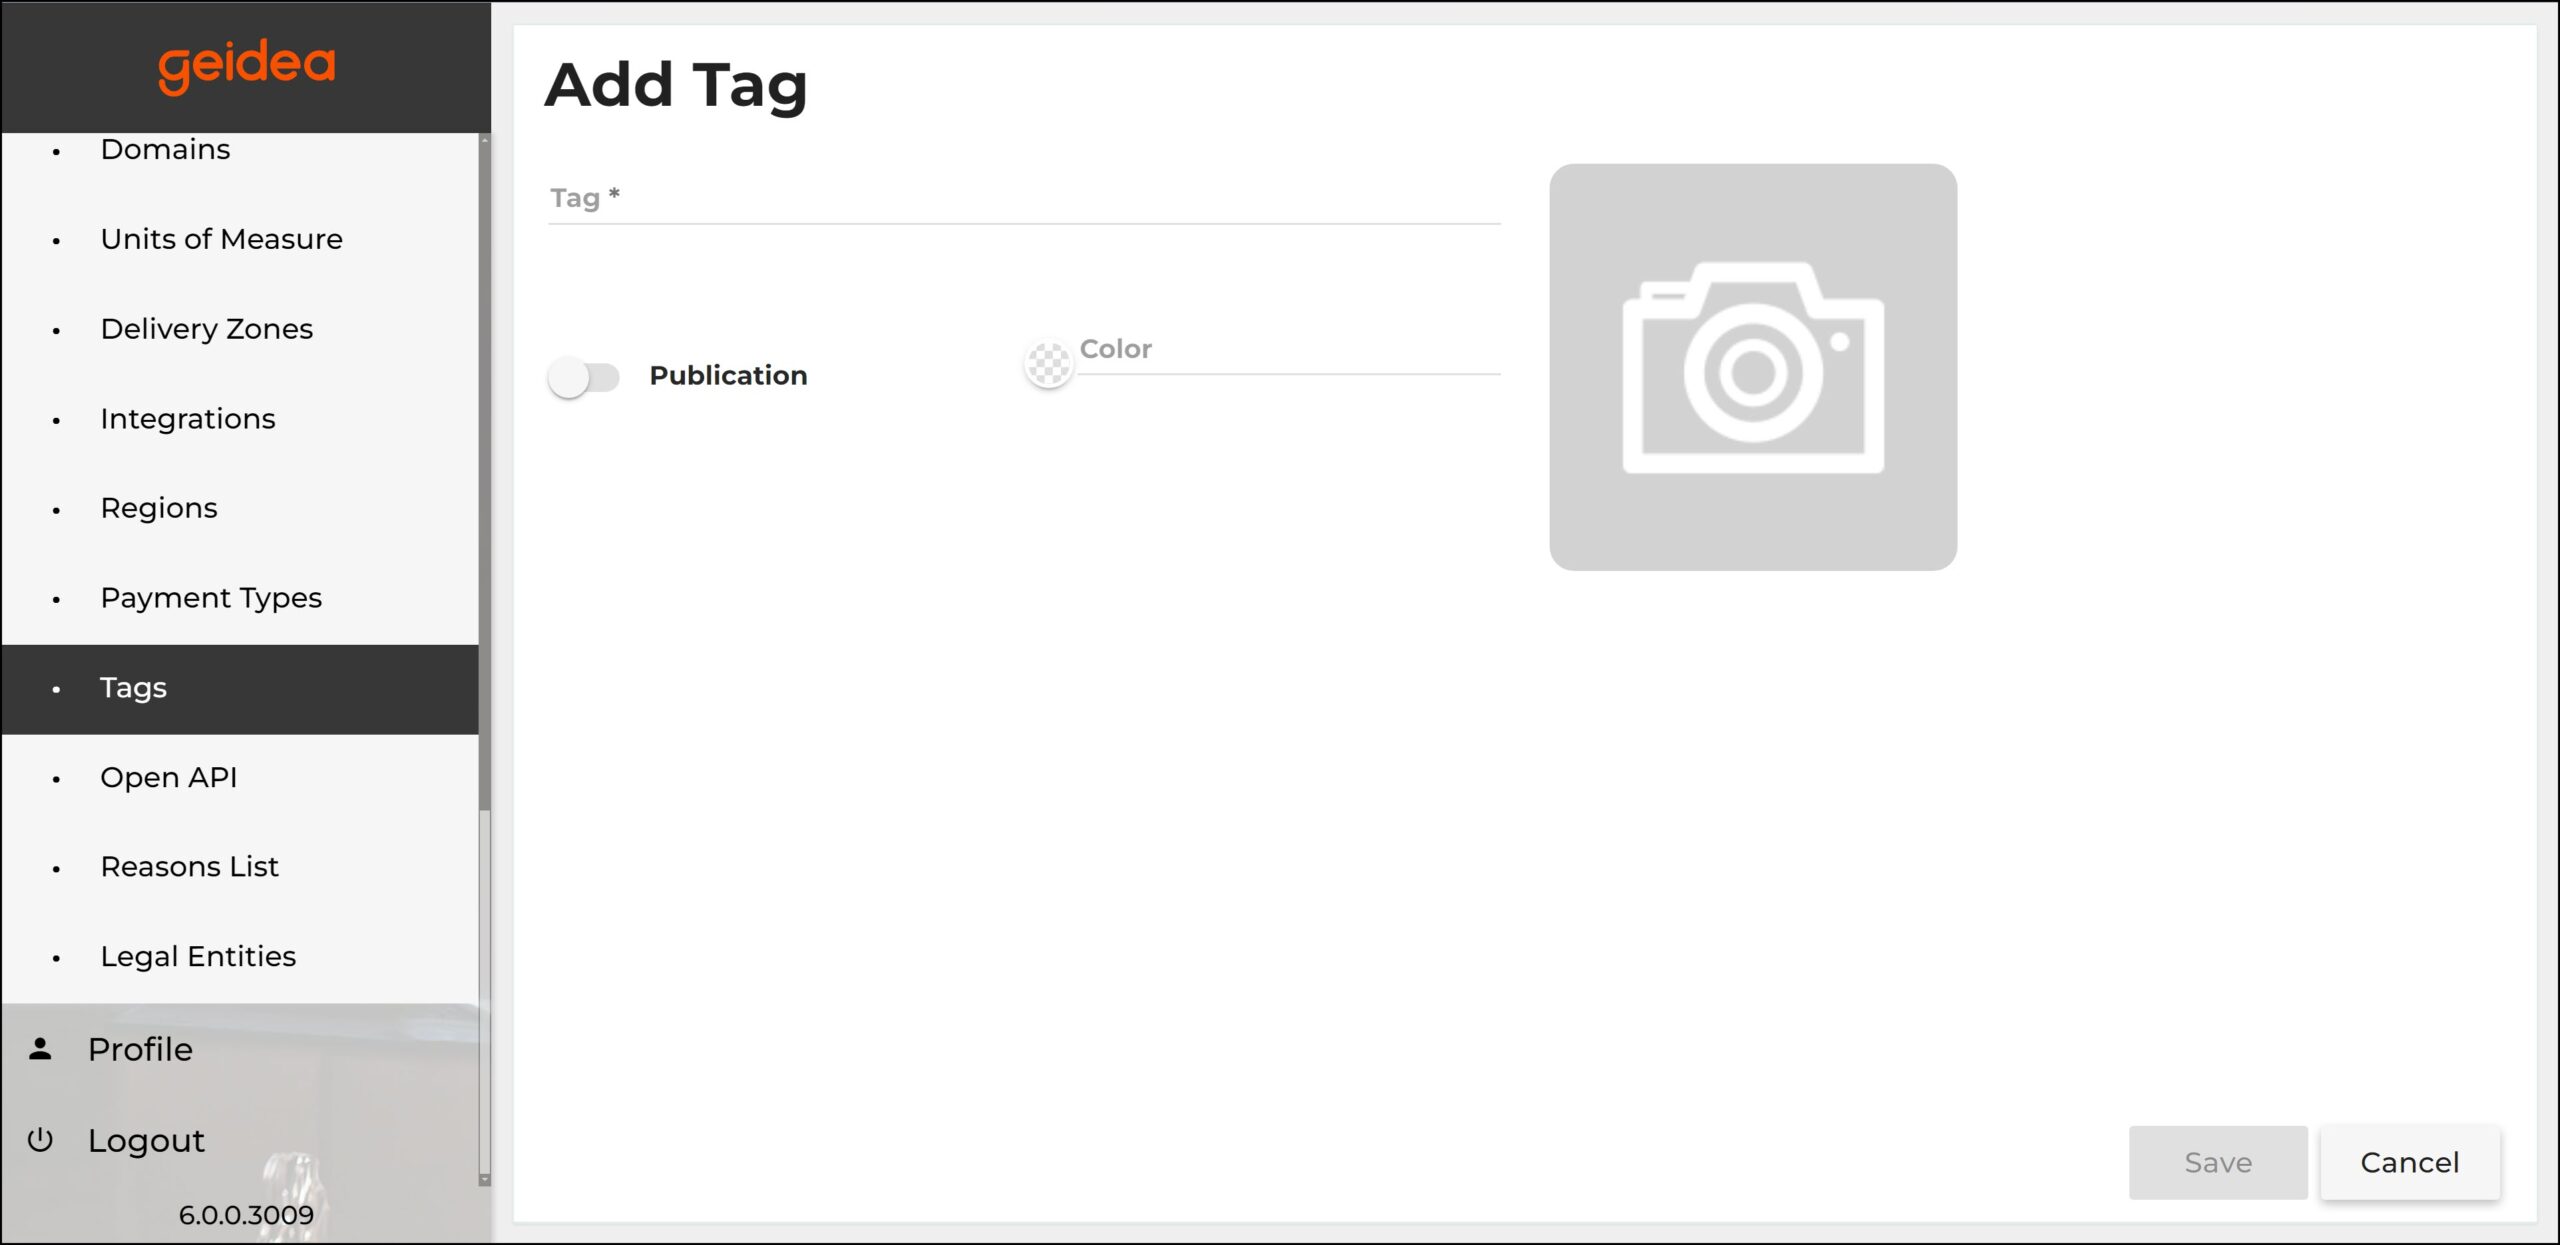
- Fill out the required information:
- Tag: Add name of the tag.
- Publication: Choose if the tag is public or hidden.
- Image: Lets you upload an image file associated with a tag.
- Color: Lets you choose a background color for the tag.
- Click Save.
Visual Design of Tags
There are three types of tags that are defined by the tag parameters specified on the Add Form form:
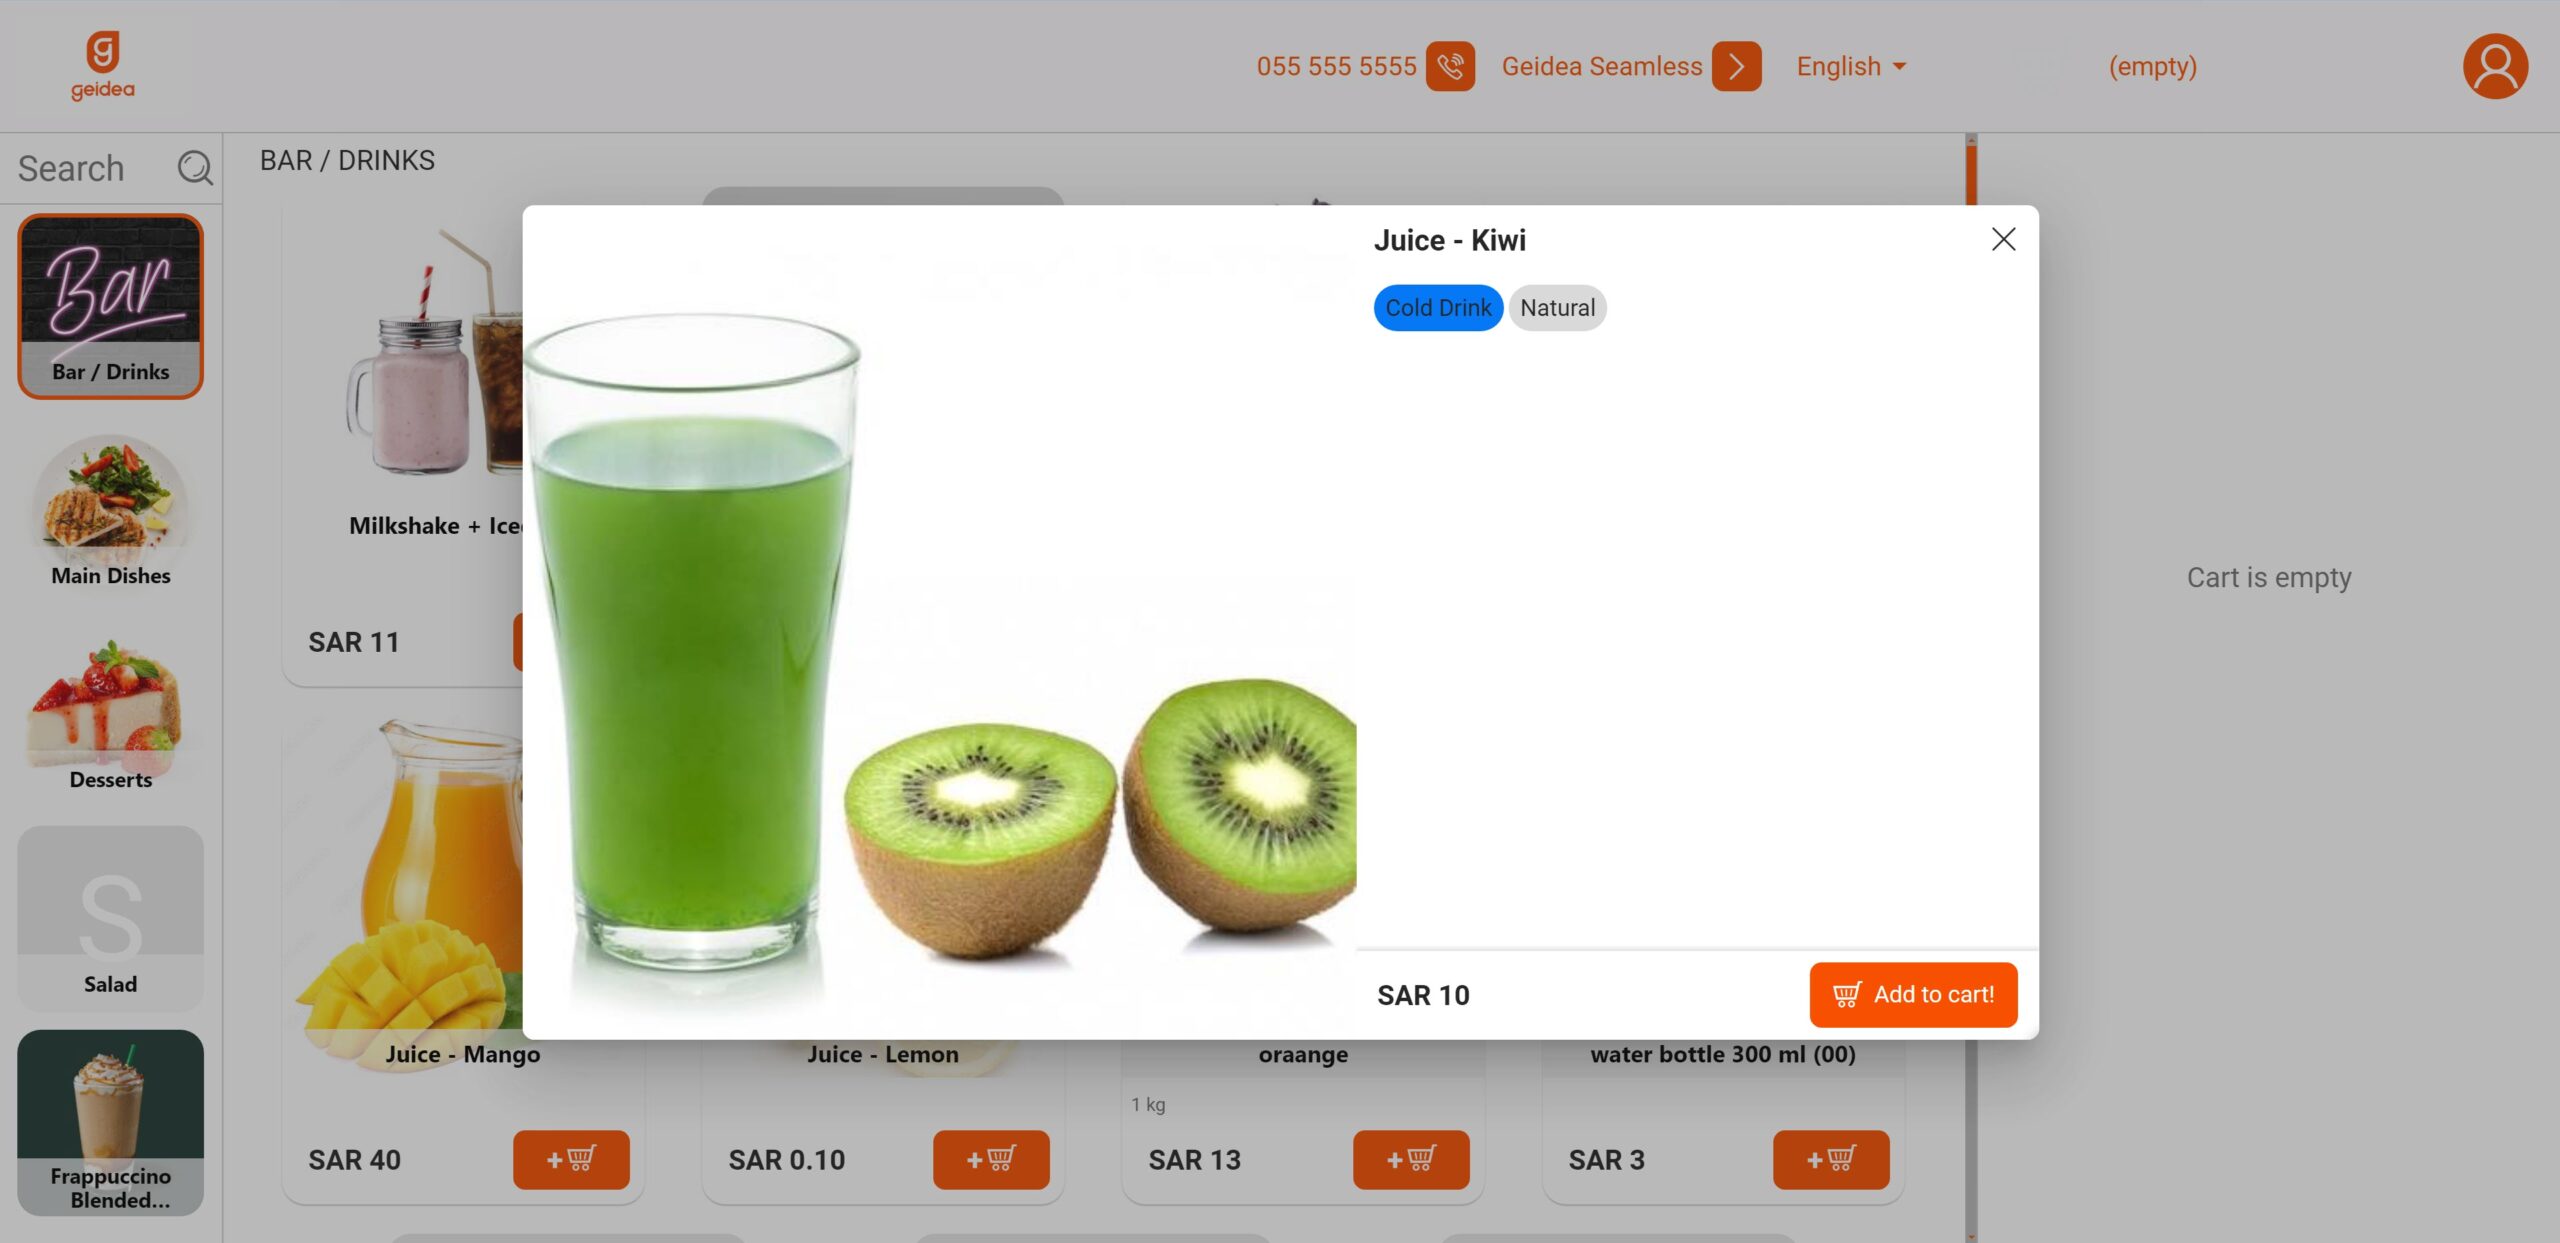
- When no color or image assigned, it will look as follows:
- When color assigned, but no image, it will look as follows:
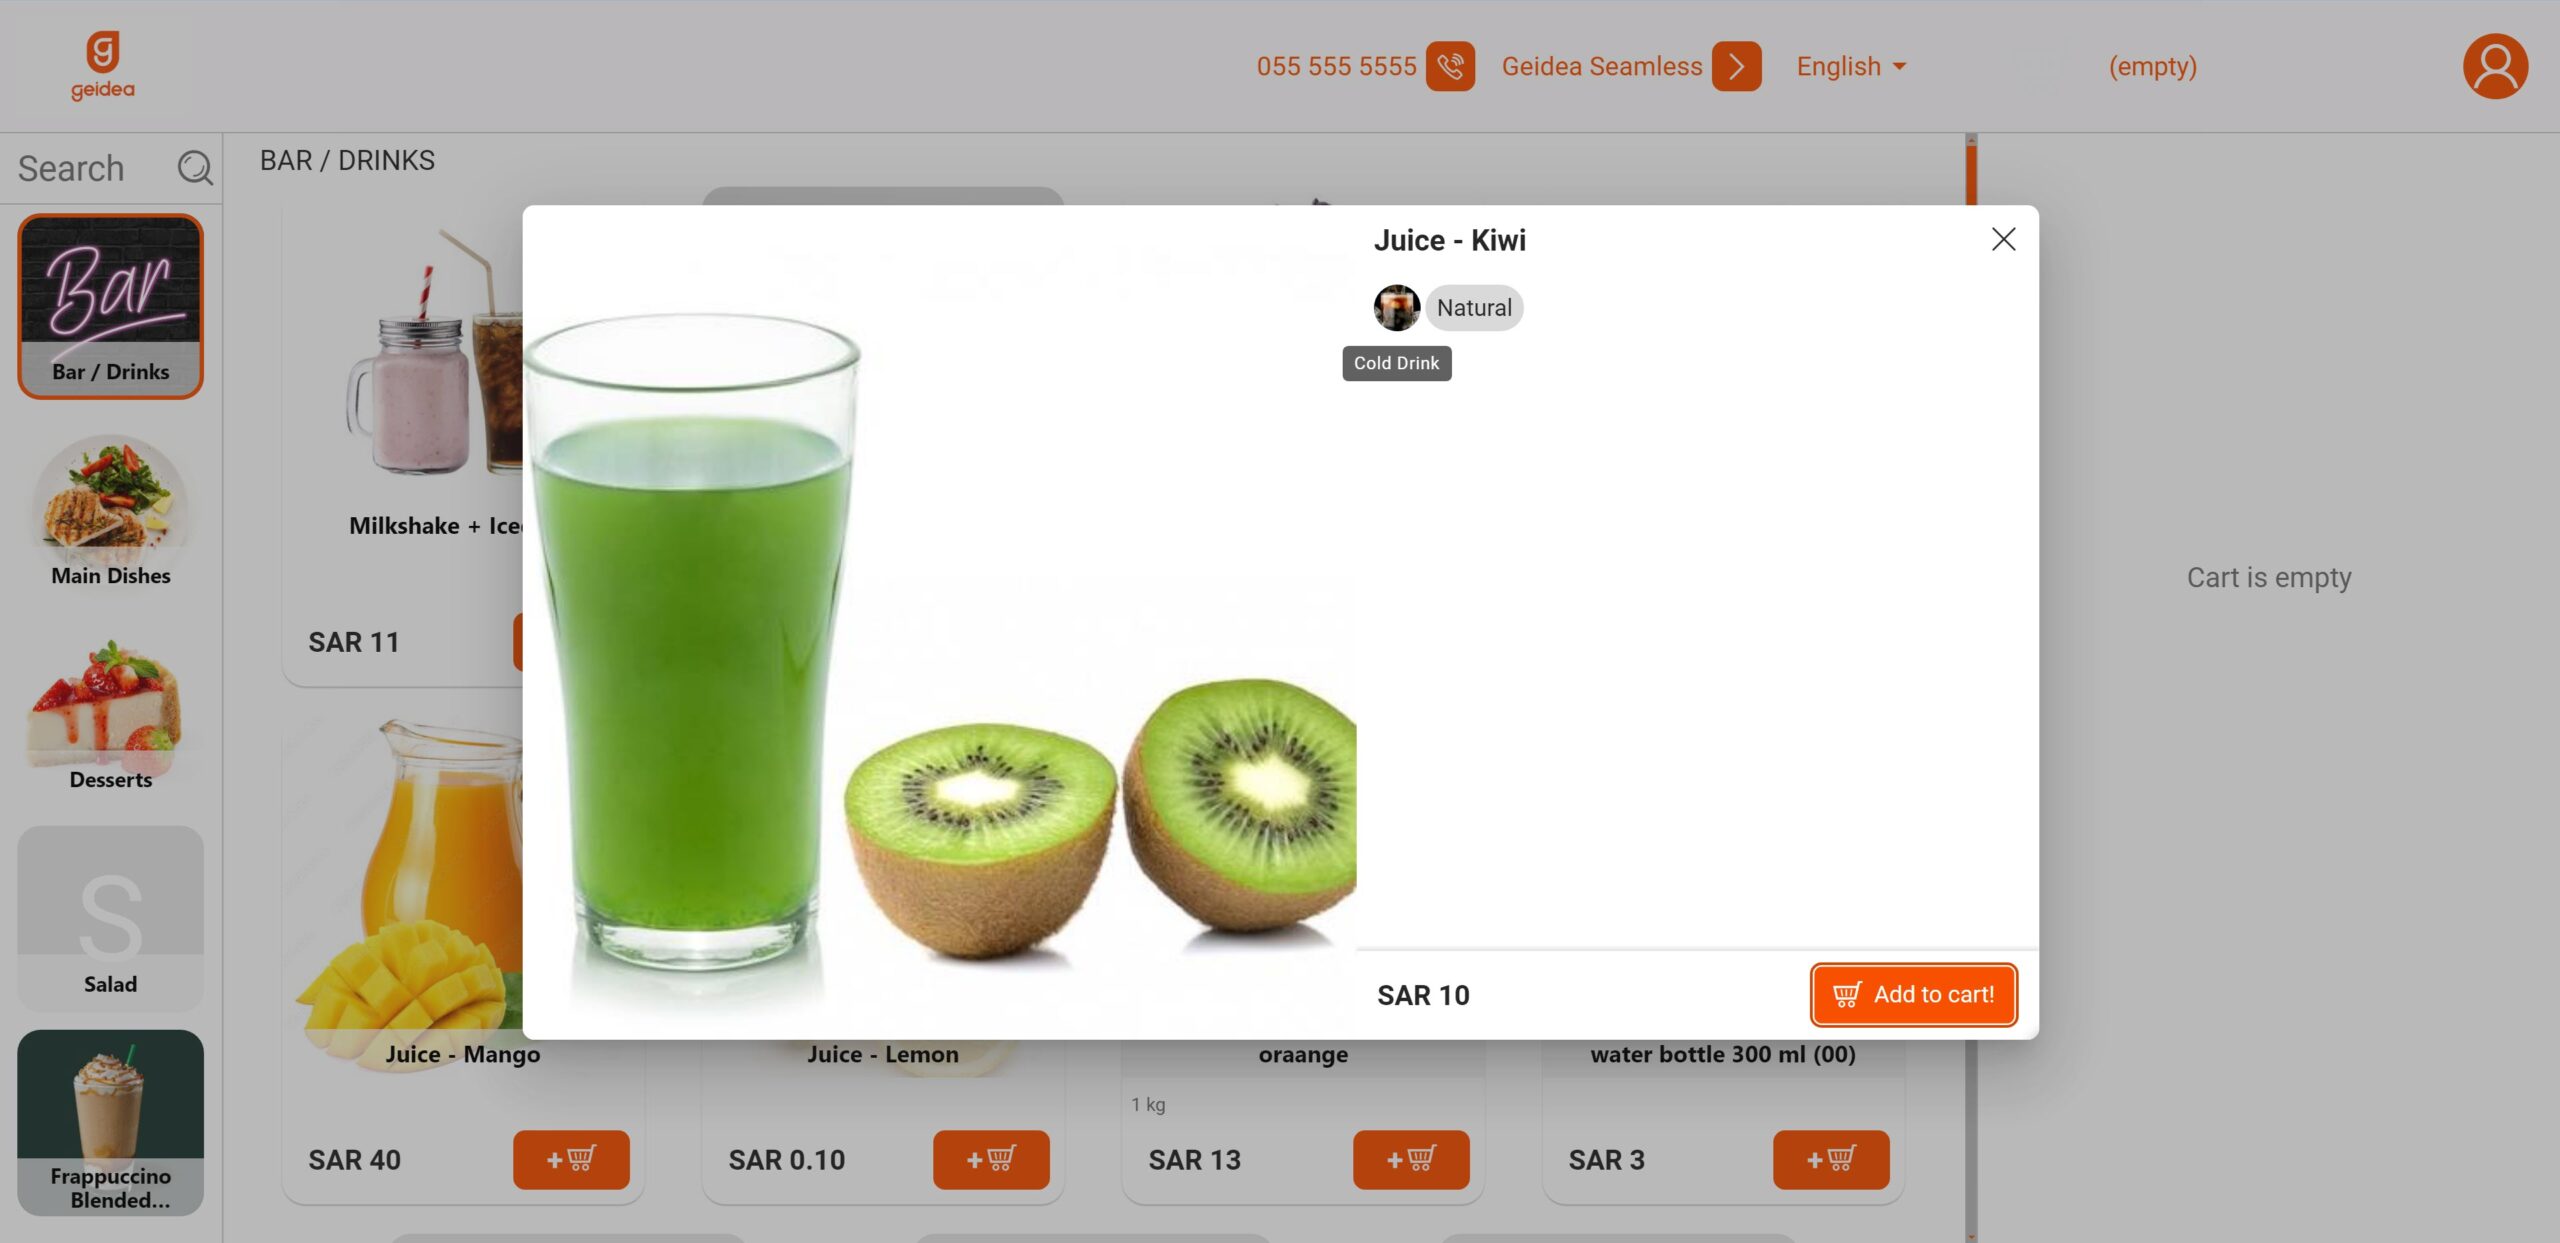
- When an image is assigned, it will replace the name text. Hovering over the image will show the text. It will looks as follows:
Assigning Tags to Menu Items
- Open Item List, then choose the item that you want.
- Scroll down to Tags, then click on all the needed tags.
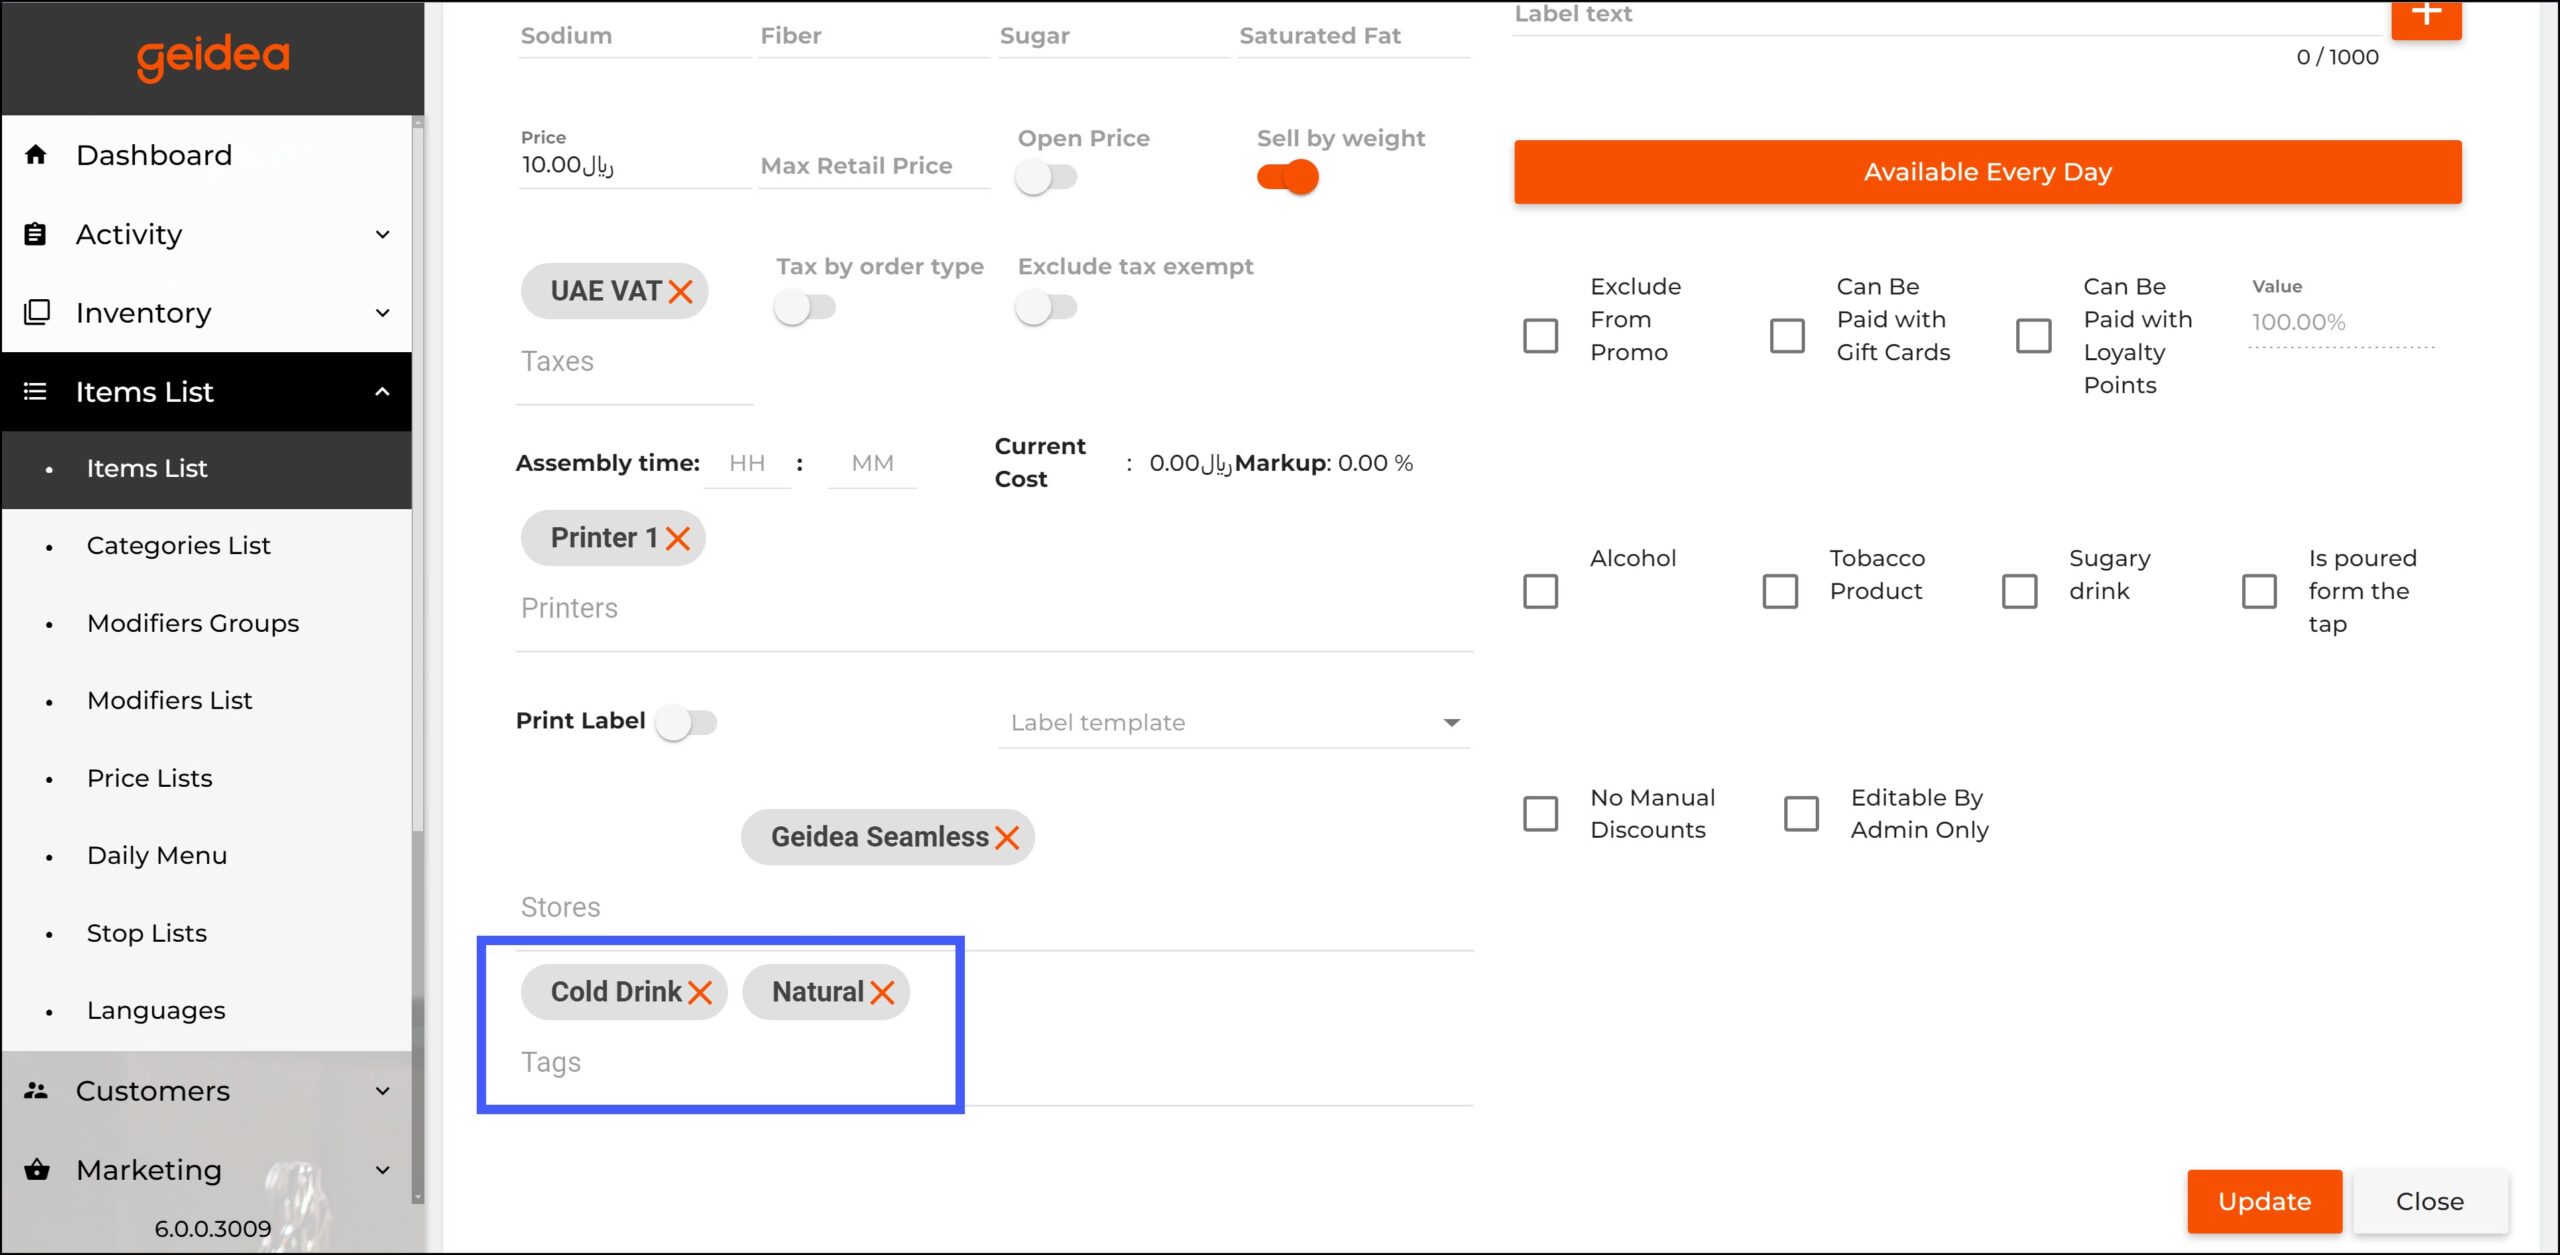
- Click Update.
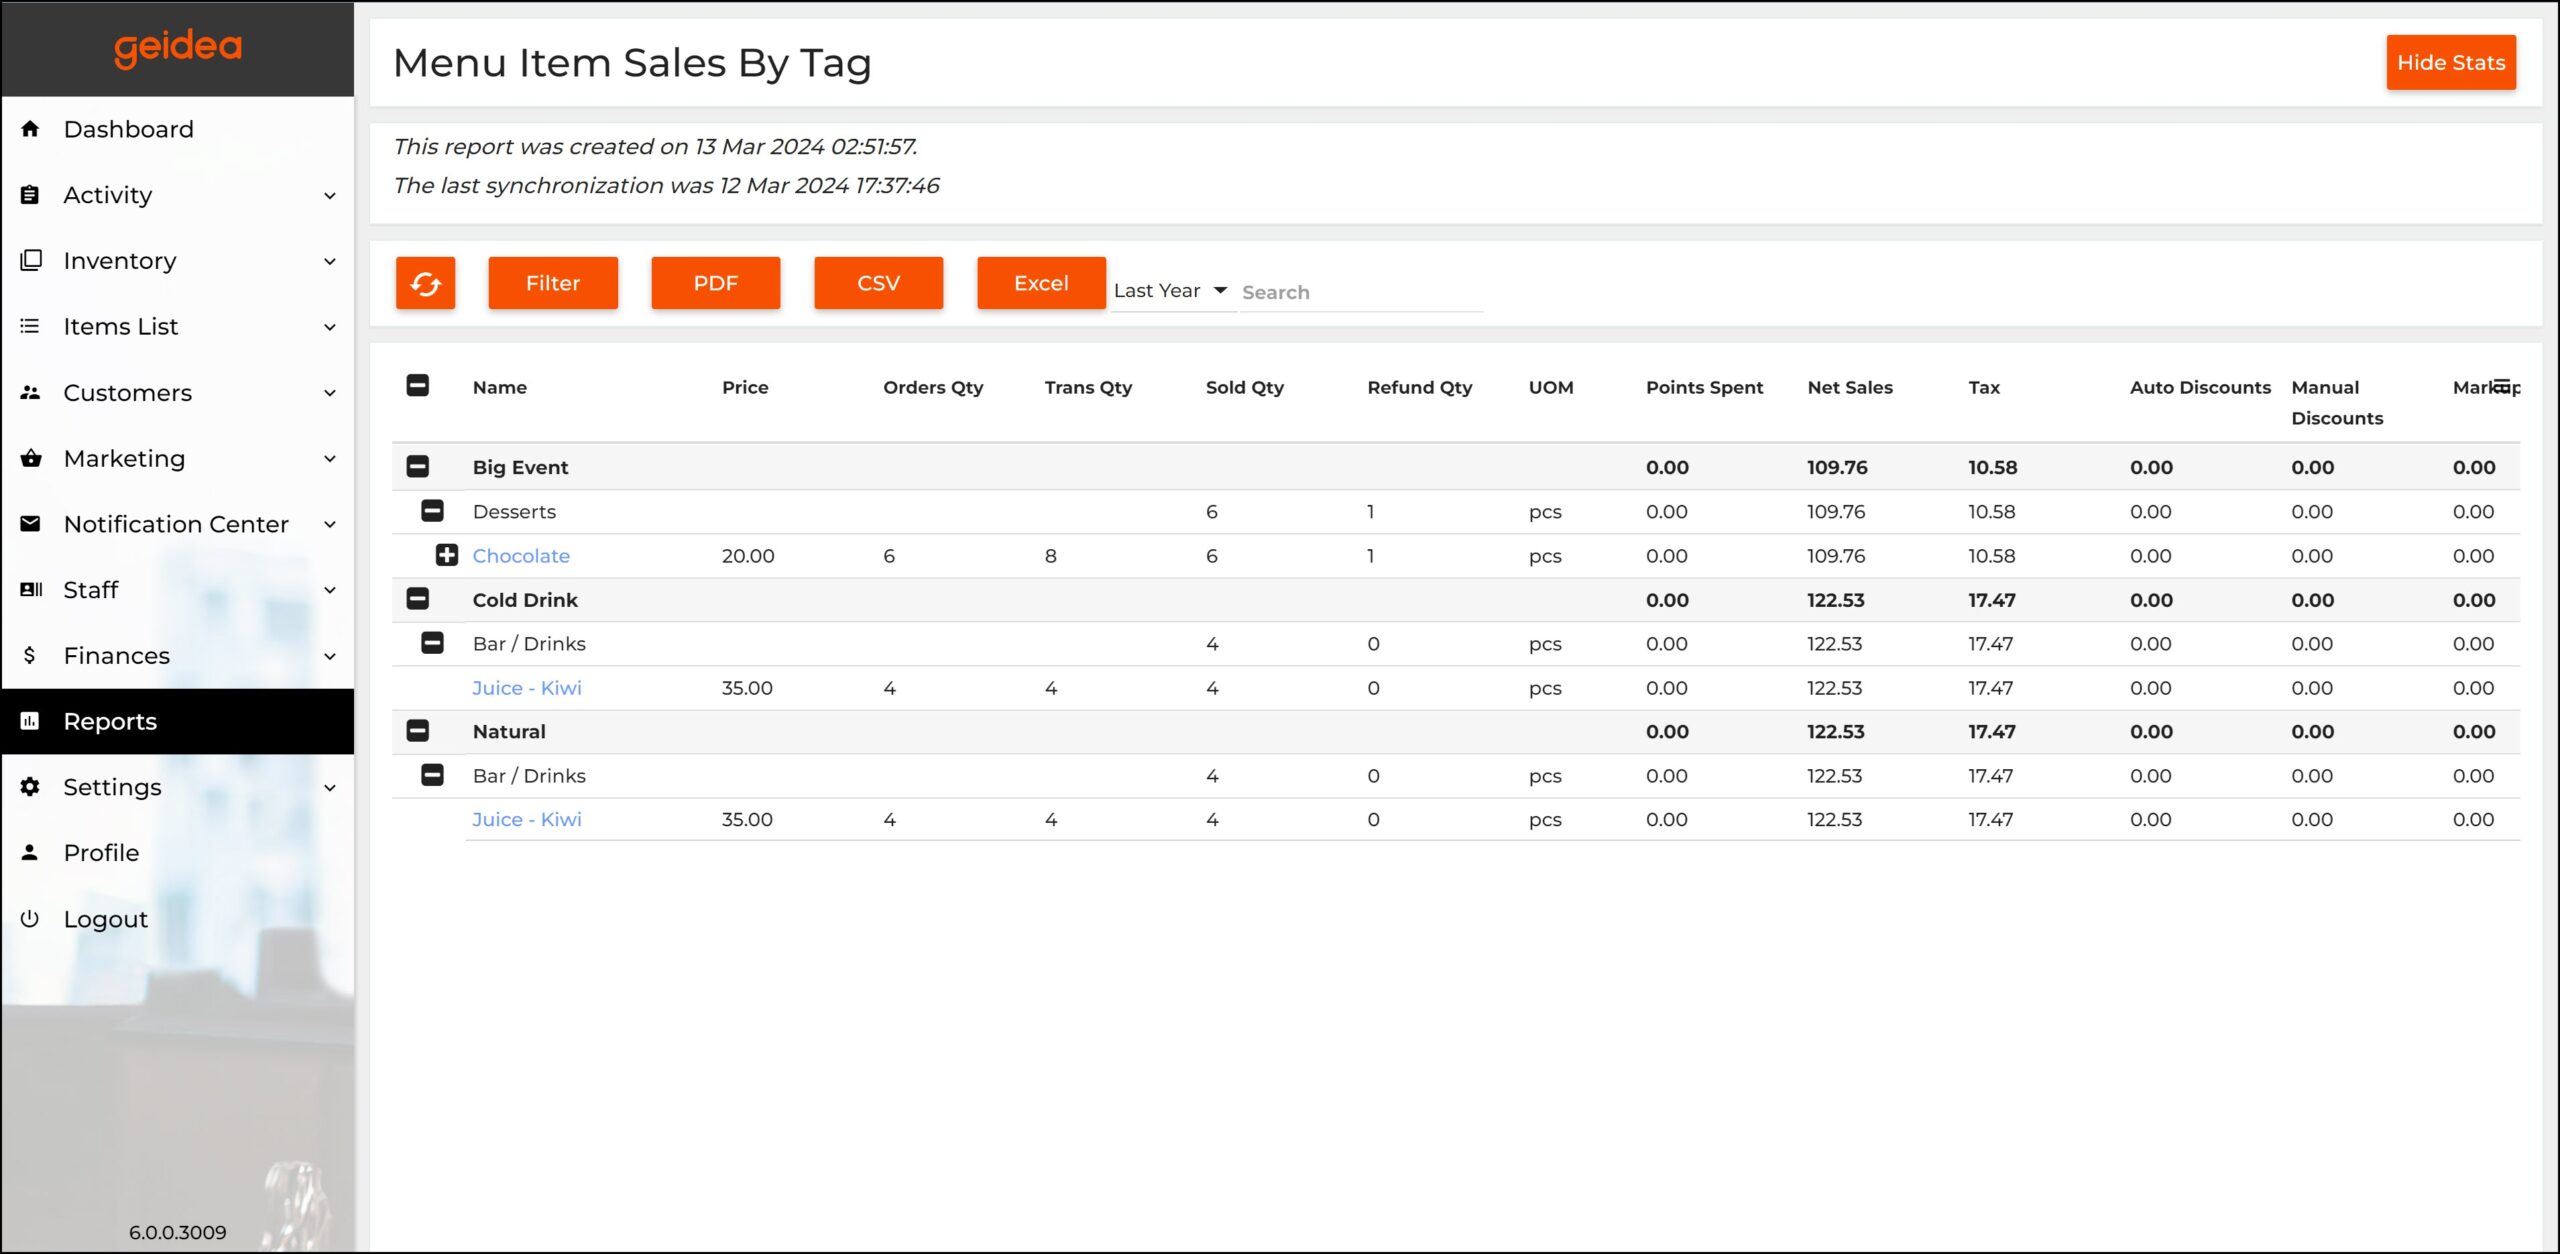
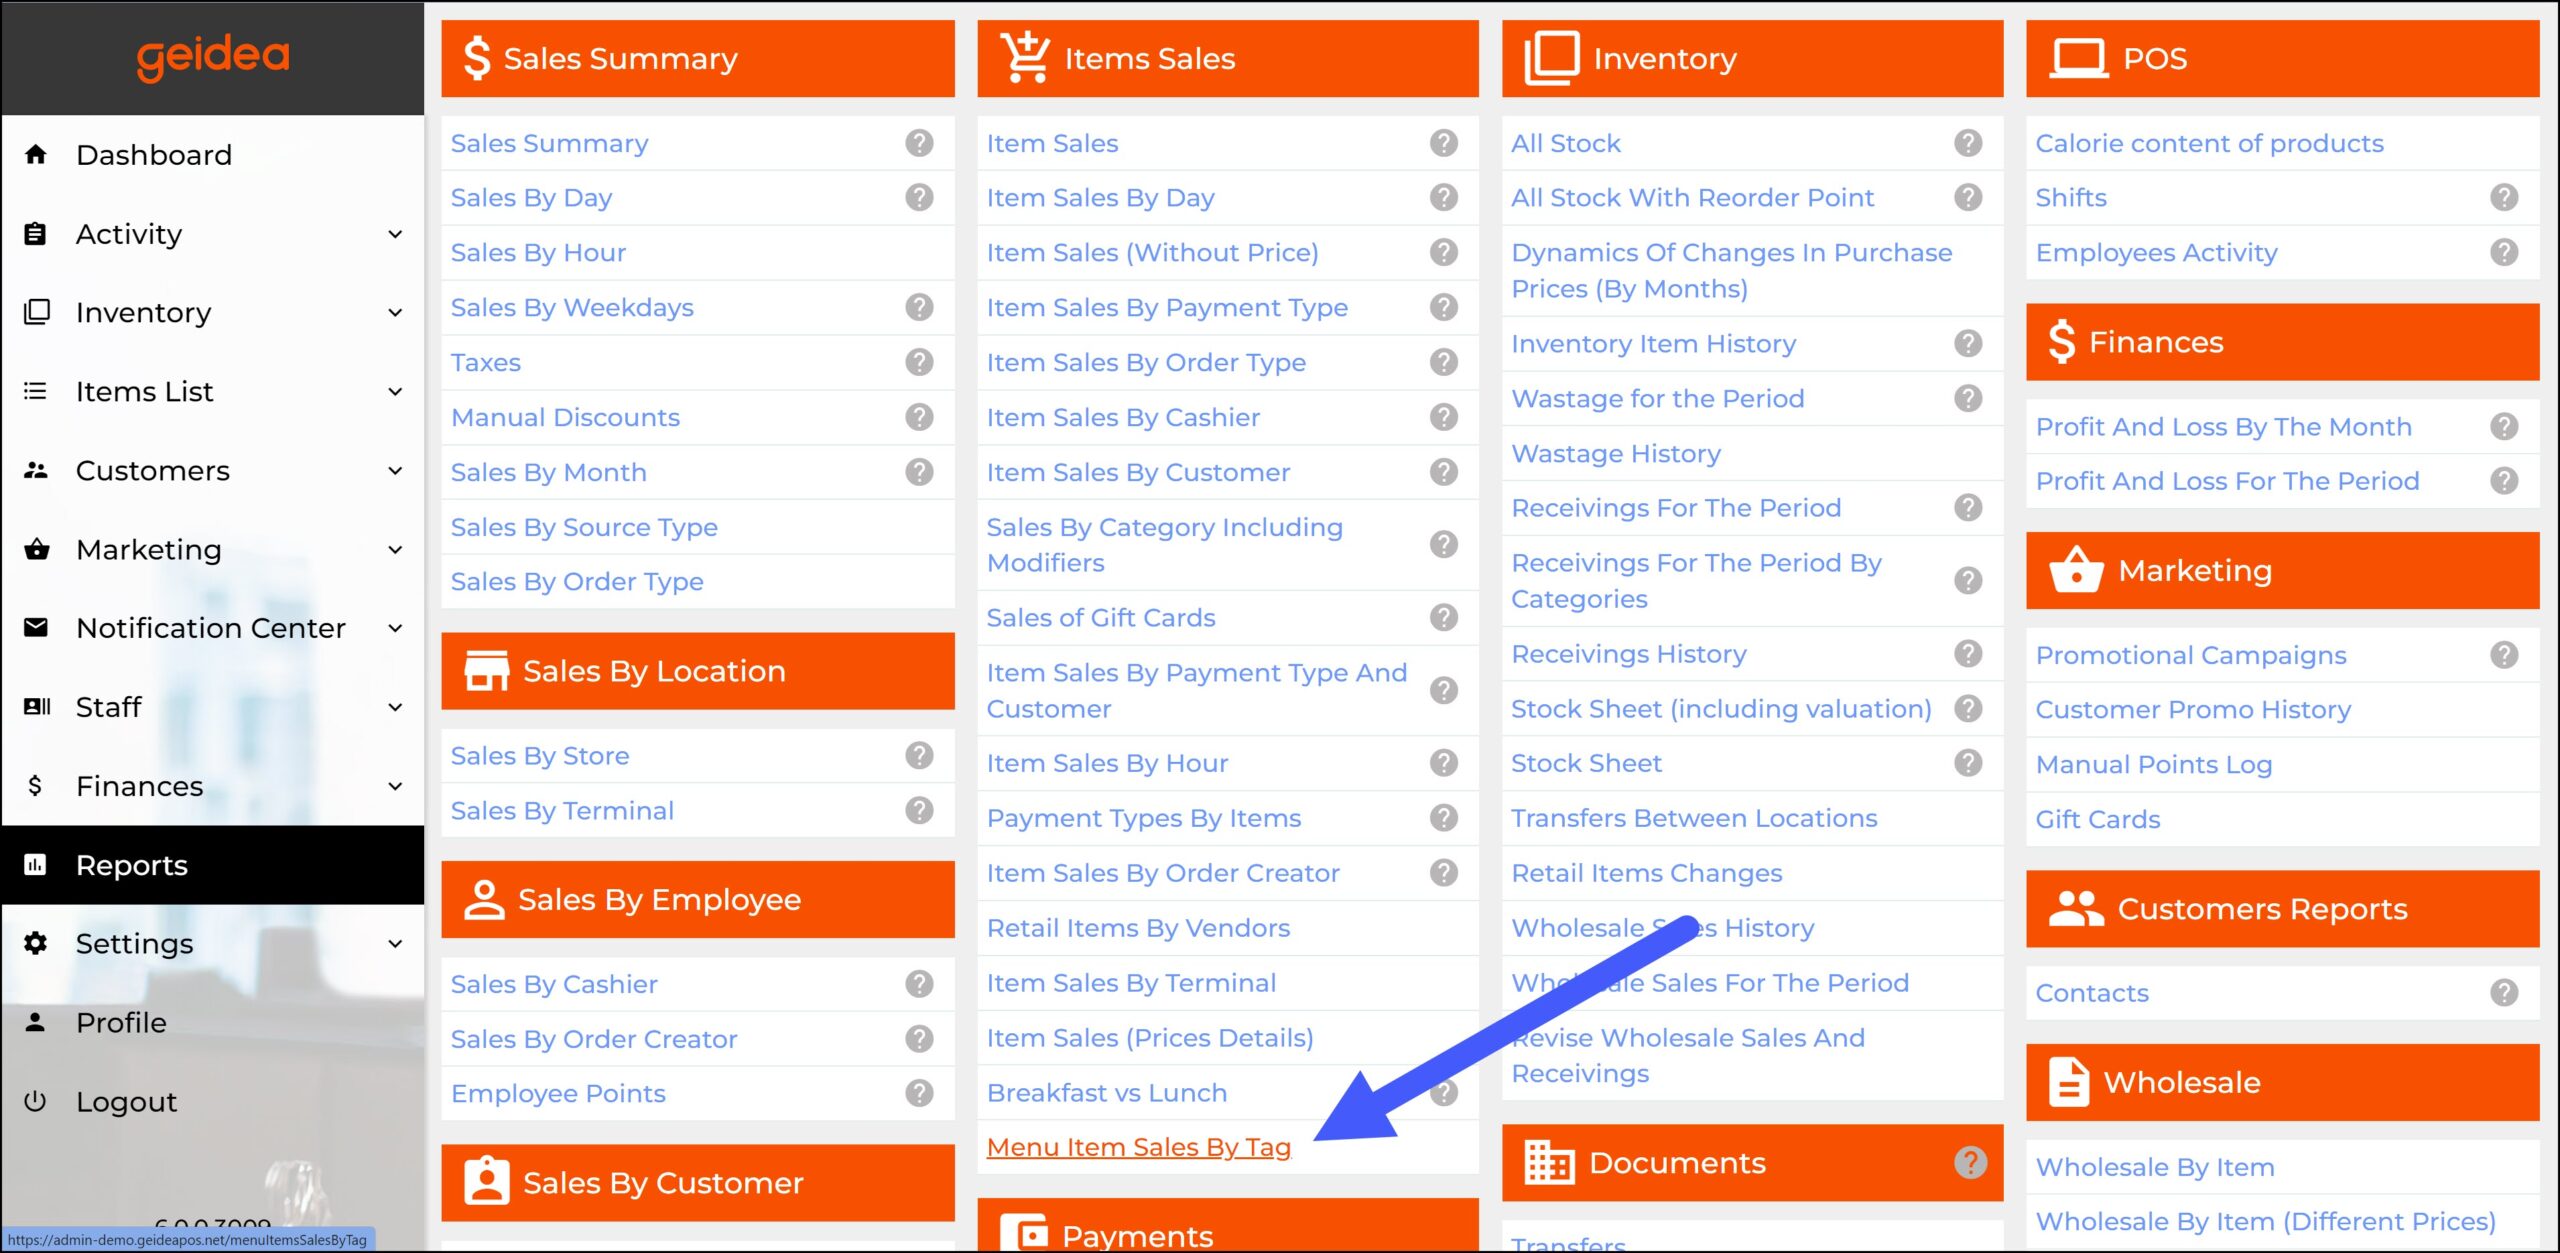
How to View a Report on Menu Items Sales by Tags
- Go to Reports, then click Menu Item Sales By Tag.
- The report will open as follows: